The Last of Us Part I - Capitol Stained Glass Materials - by Jonathan BENAINOUS
This gallery is a collection of some of the many materials I made during the production of The Last of Us Part I.
---
This series gives an overview of my responsibilities on the project as Senior Environment Texture Artist with some detailed breakdown, blending videos, before/after shots and material balls.
---
Every material showcased in this gallery were all fully made in Substance 3D Designer and rendered in Marmoset Toolbag.
While these materials were made for the Capitol Interior, most of them were also put in the base library and can be found throughout the game.
---
For more information, please make sure to read the caption under each image and video to get some additional insight on my workflow and Environment Art techniques.
---
Hope you like it and find this series of galleries useful!


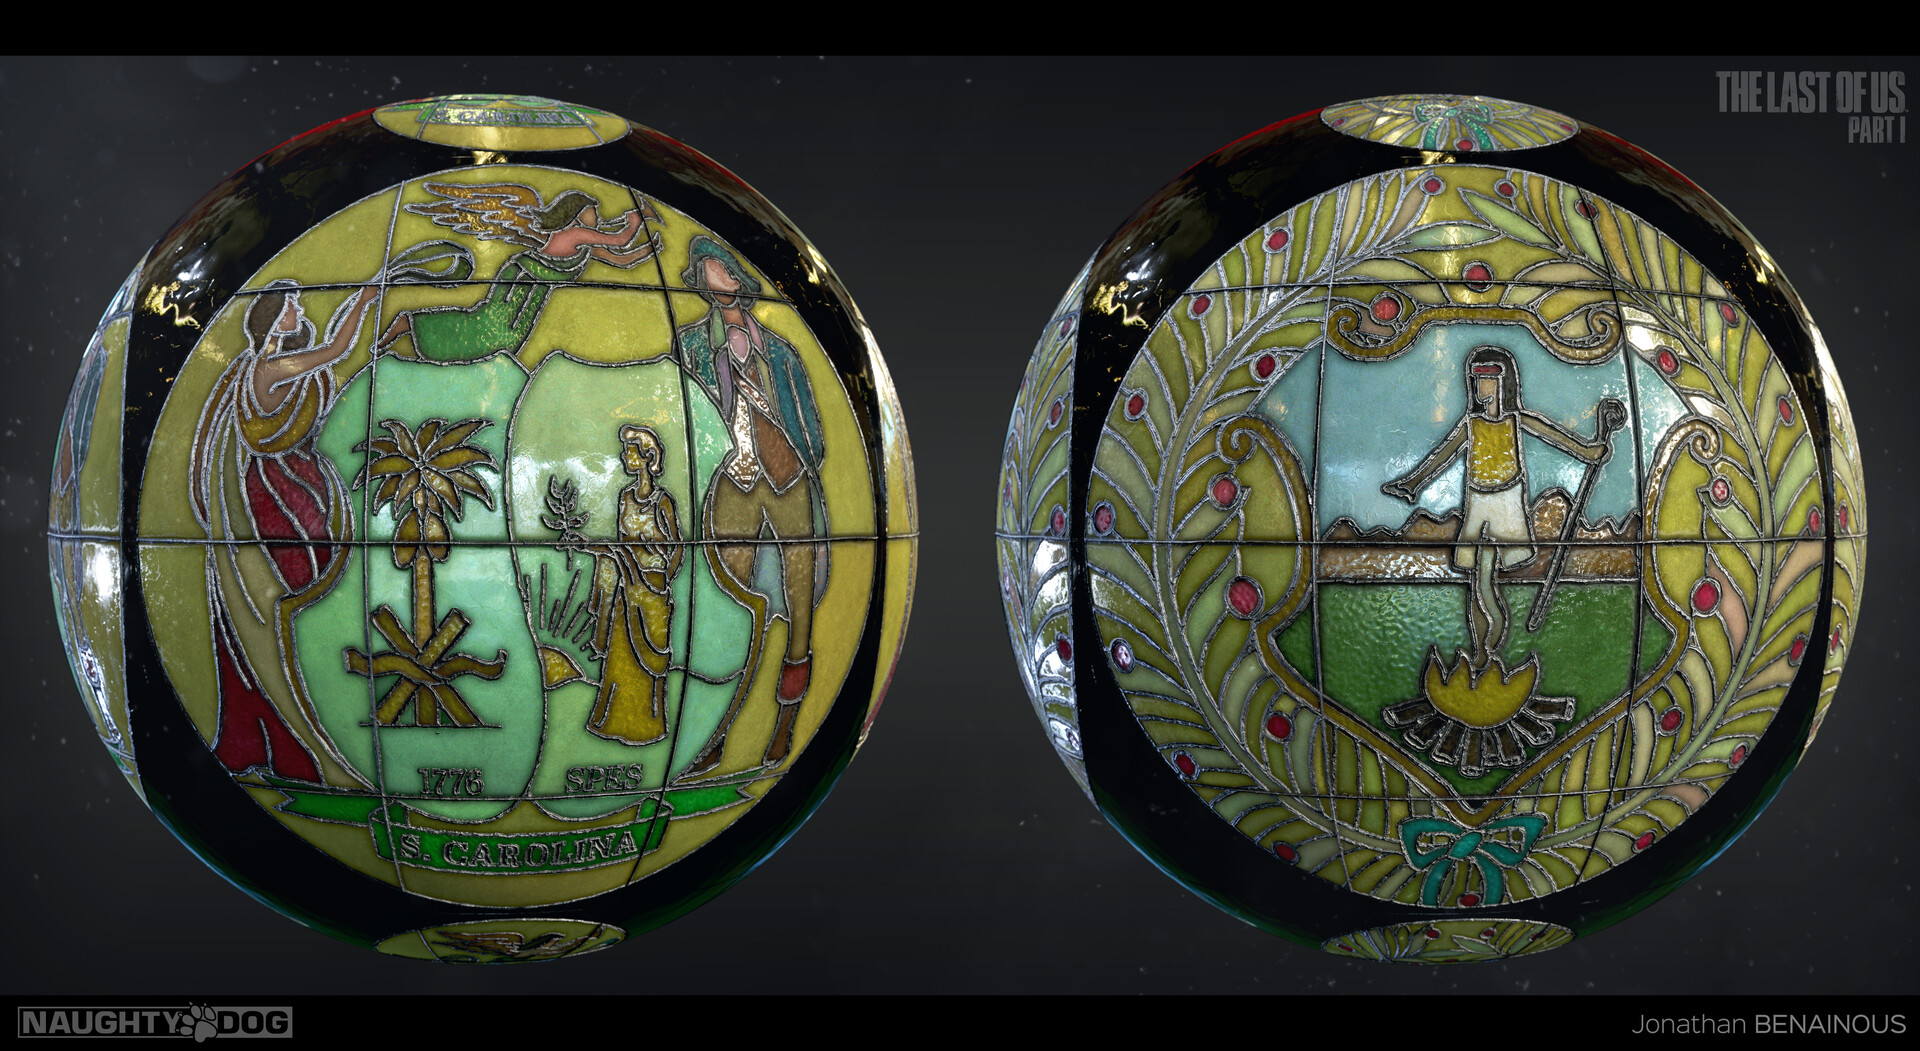
Height and Albedo breakdown of one of the stained glass materials created for the dome - Fully made with Substance 3D Designer

Texture set breakdown of the same material.
From left to right:
AO - Albedo - Roughness - Emissive
Opacity - Height - Normal - Metallic.

Here is a reference board of the stained glass dome inside the Massachusetts state house that we used as main inspiration and the final result visible in the game on the left.


Here is an overview of the stained glass generator I created in Substance 3D Designer to allow me to author all the necessary materials for this dome.

I worked in close collaboration with Hailey Del Rio and our outsourcing vendors to get the necessary vector masks I needed for my generator. Based on one set of 3 masks (color / black & white / outline) I was able to get a total control once in SD.
As you can see in this video, by only changing my input files, I am able to generate as many variations as needed procedurally.

The same graph was used to create all the materials visible on this board. It works the same way for unique patterns like the discs and for tillable textures.
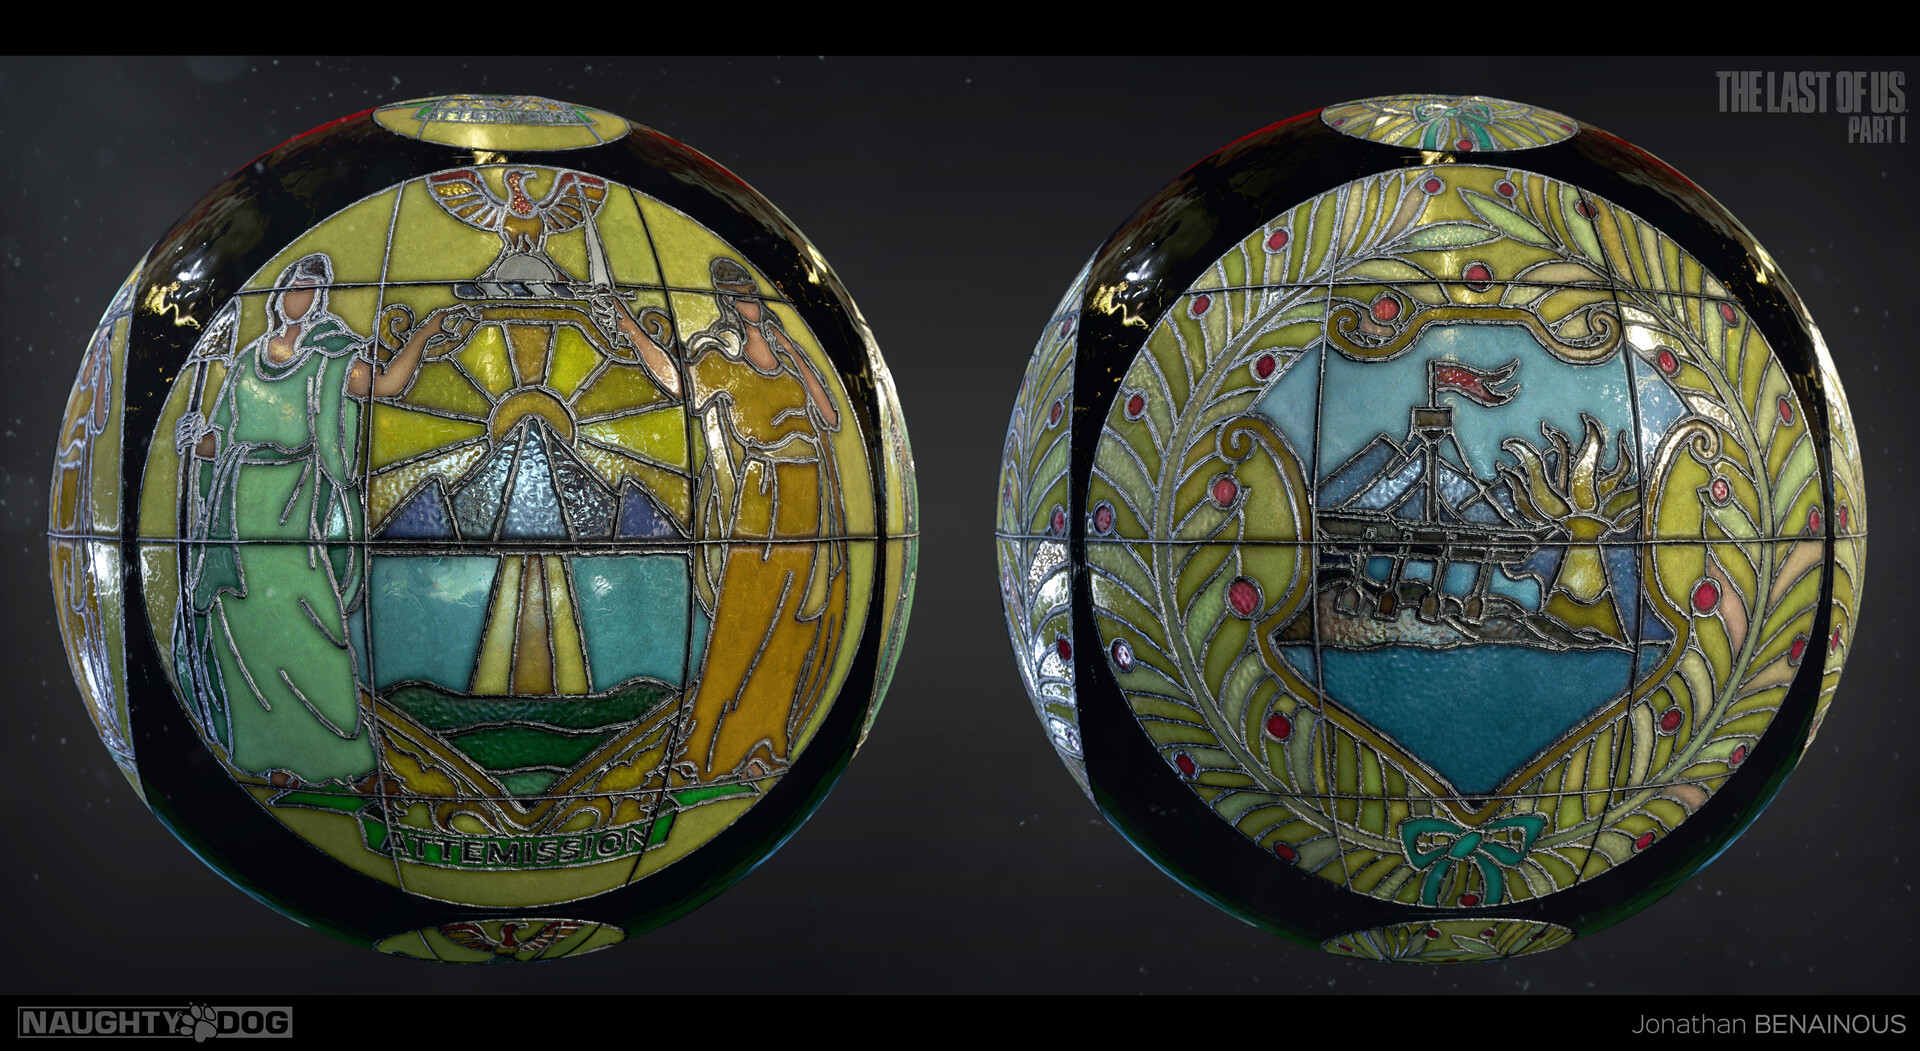


In this breakdown, I used an ornate trim for the metallic frame, baked assets for the eagle & light fixtures and some stained glass materials that I mapped on the discs and the tillable dome in the center.


You can find this other stained glass ceiling in the stairwell leading to the exit of the building. The method used here is the same than on the dome with these four stained glass materials.
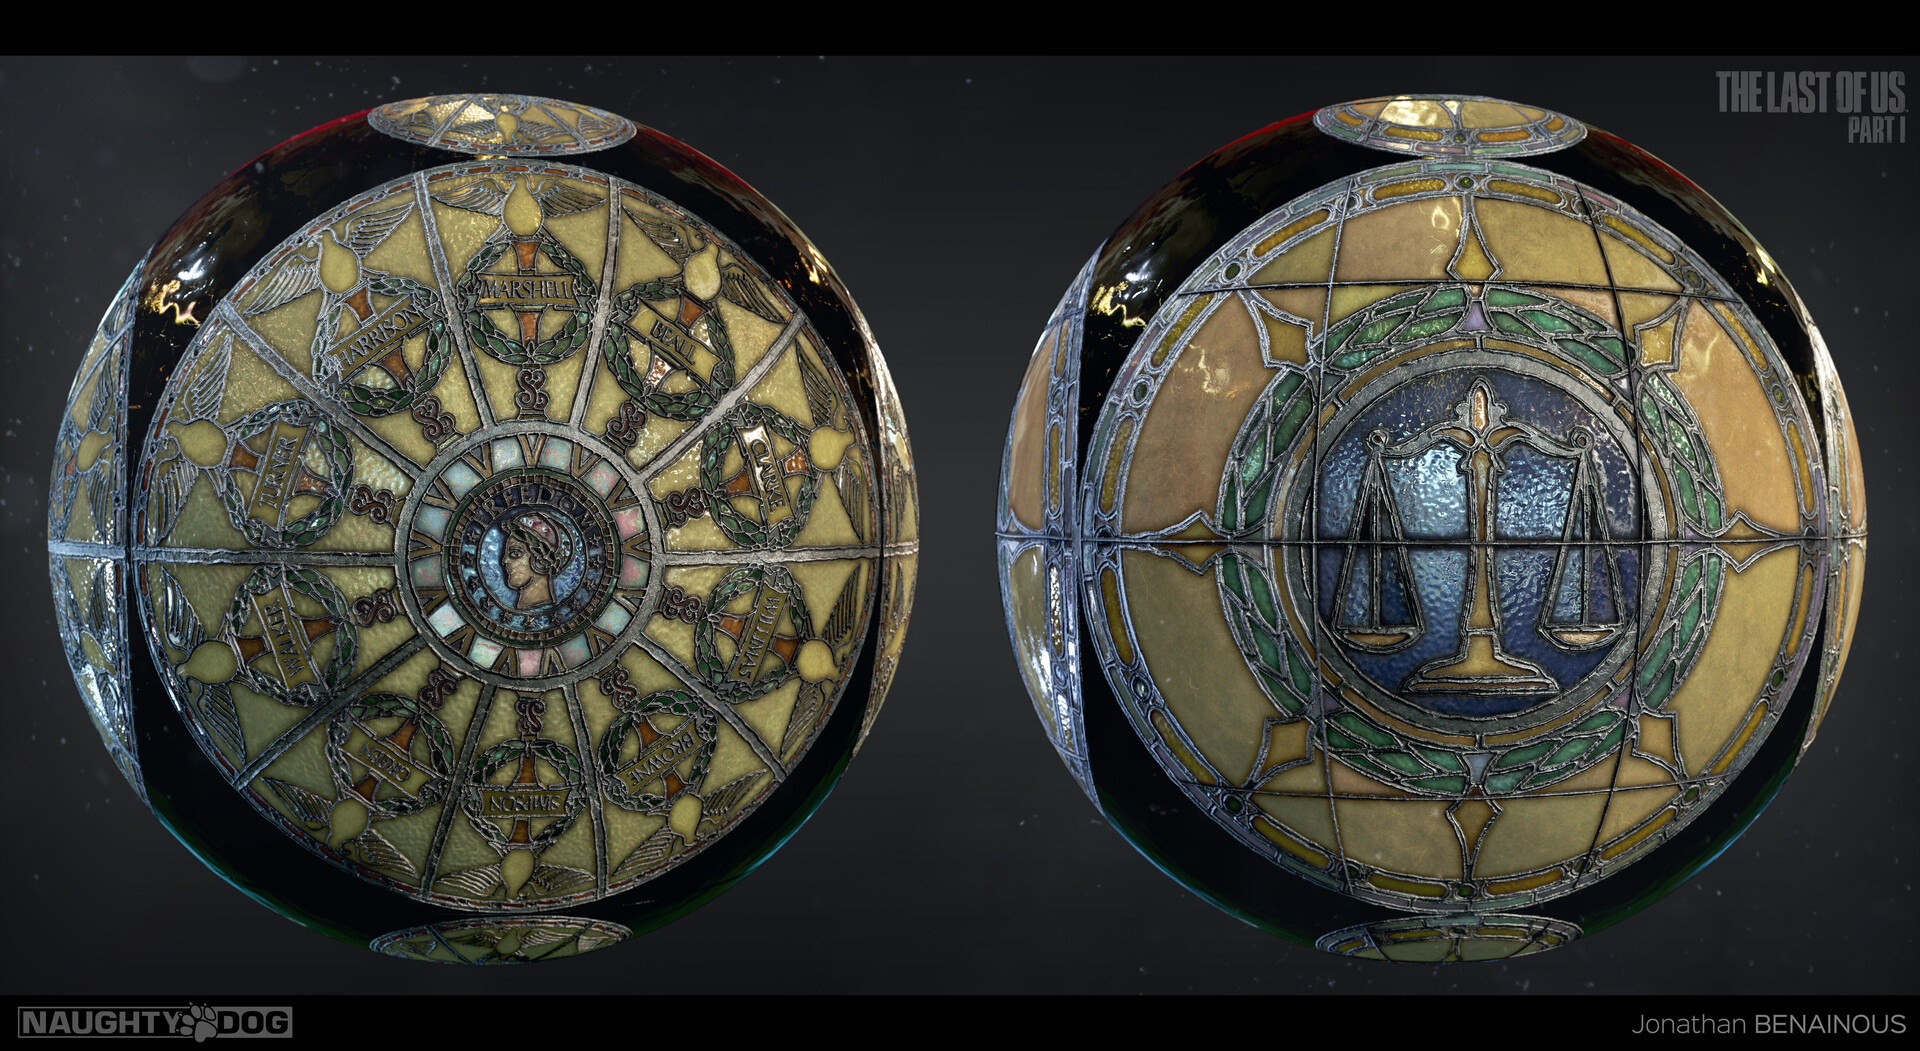


One of my favorite ceiling I created in the game! You can find it in the hall right next to the rotunda room. Once again, the same generator has been used to make it.